Reading view

OpenProject 17.3: Evolving agile with backlogs and sprints

OpenProject 17.3 has been released and, as announced on our blog, introduces several improvements to agile project management, making it easier to plan and structure work with sprints, backlogs and boards.

In this article, we highlight the most important changes and what they mean for your daily work. And, as always, please see our release notes that contain all changes, features and bug fixes.

A quick article navigation:

Agile evolution with sprints and backlogs

Agile workflows have long been supported in OpenProject, but often required workarounds or manual setup. In our recent article on the future of agile work, we outlined how we want to further evolve these workflows and make them more intuitive and accessible.

With OpenProject 17.3, we are now taking the next step and bringing these improvements directly into the product, supporting both the planning and execution of agile work.

OpenProject Backlogs module in version 17.3: Divided into Backlog and Sprints

Important

If you are already working with the Backlogs module, you will notice changes to the layout and behavior with OpenProject 17.3. These updates are designed to simplify your workflow, while preserving your existing data and structure.

Dedicated sprint objects

If you have been working with agile methods in OpenProject, you may already be familiar with using versions as a way to structure your sprints. While this approach worked well, it required a certain level of adaptation and was not always intuitive, particularly for teams transitioning from other tools.

With OpenProject 17.3, we are introducing dedicated sprint objects as a natural way to plan and organize your work. Instead of relying on workarounds, sprints are now a core part of the Backlogs module and can be used directly to structure your work packages.

Each sprint comes with key attributes such as name, status, and dates, and work packages can be assigned to sprints in a straightforward way. This creates a clearer and more consistent structure for planning and executing agile work and makes it easier for teams to get started, including those migrating from tools like Jira.

All work packages visible on backlogs

When planning work in backlogs, teams often had to decide in advance which work package types should be included. This could lead to situations where not all relevant work was visible in one place, requiring additional configuration or workarounds.

With OpenProject 17.3, backlogs now display all work package types within a project by default. This means that teams can manage and prioritize all relevant work directly in the backlog and sprint planning view.

This change provides a more consistent and flexible way to organize work, especially for teams that use different work package types across their projects.

Automatic sprint board creation

Setting up a board for a new sprint often required manual configuration, even after the sprint had already been planned. This added extra steps before teams could start working and made it harder to ensure a consistent setup across projects.

With OpenProject 17.3, a dedicated sprint board is now created automatically when starting a sprint. The board is configured based on the project’s workflows and includes all work packages assigned to the sprint.

Teams are taken directly to the board after starting the sprint, allowing them to begin working immediately without additional setup and focus directly on executing their sprint.

Sprint board in OpenProject version 17.3

Closing a sprint and handling remaining work

Completing a sprint and preparing for the next iteration often required manual adjustments, especially when dealing with unfinished work.

With OpenProject 17.3, active sprints can now be completed directly. When closing a sprint, you are guided to handle remaining work packages in bulk, for example, by moving them back to the backlog or assigning them to another sprint.

This makes it easier to move from one sprint to the next and keeps your workflow consistent without additional manual steps.

Action boards now available in the Community edition

Boards have always been a central part of agile workflows in OpenProject, helping teams to visualize and organize their work. With the mentioned improvements to sprints and backlogs in OpenProject 17.3, their role becomes even more important.

With this release, all Action board types are now available in the Community edition. This extends the existing basic board functionality and allows teams to use a wider range of board configurations, such as Kanban or parent-child boards, without requiring an Enterprise plan.

In the future, we plan to develop and offer additional advanced board features, such as swimlanes and work-in-progress limits, as Enterprise add-ons.

This step reflects our commitment to making powerful agile tools accessible to a broader audience, while continuing to evolve OpenProject based on the needs of our Community.

OpenProject boards overview - creating a new board and choose from the following types: Basic, Kanban, Assignee, Version, Subproject, Parent-child

See our documentation to learn about OpenProject’s Agile boards.

Other great improvements with OpenProject 17.3

OpenProject 17.3 offers more features and updates. To keep this article concise, here is a quick look at some additional improvements worth highlighting:

Edit project attributes directly on the project overview page

Project attributes can now be edited directly in place on the project overview page, without opening a separate dialog. This makes it faster and easier to update project information.

Sharing of meeting templates (Enterprise add-on, Basic plan)

Meeting templates, introduced in OpenProject 17.2, can now be shared across projects. Depending on the configuration, templates can be made available within a project, across subprojects, or throughout the entire instance.

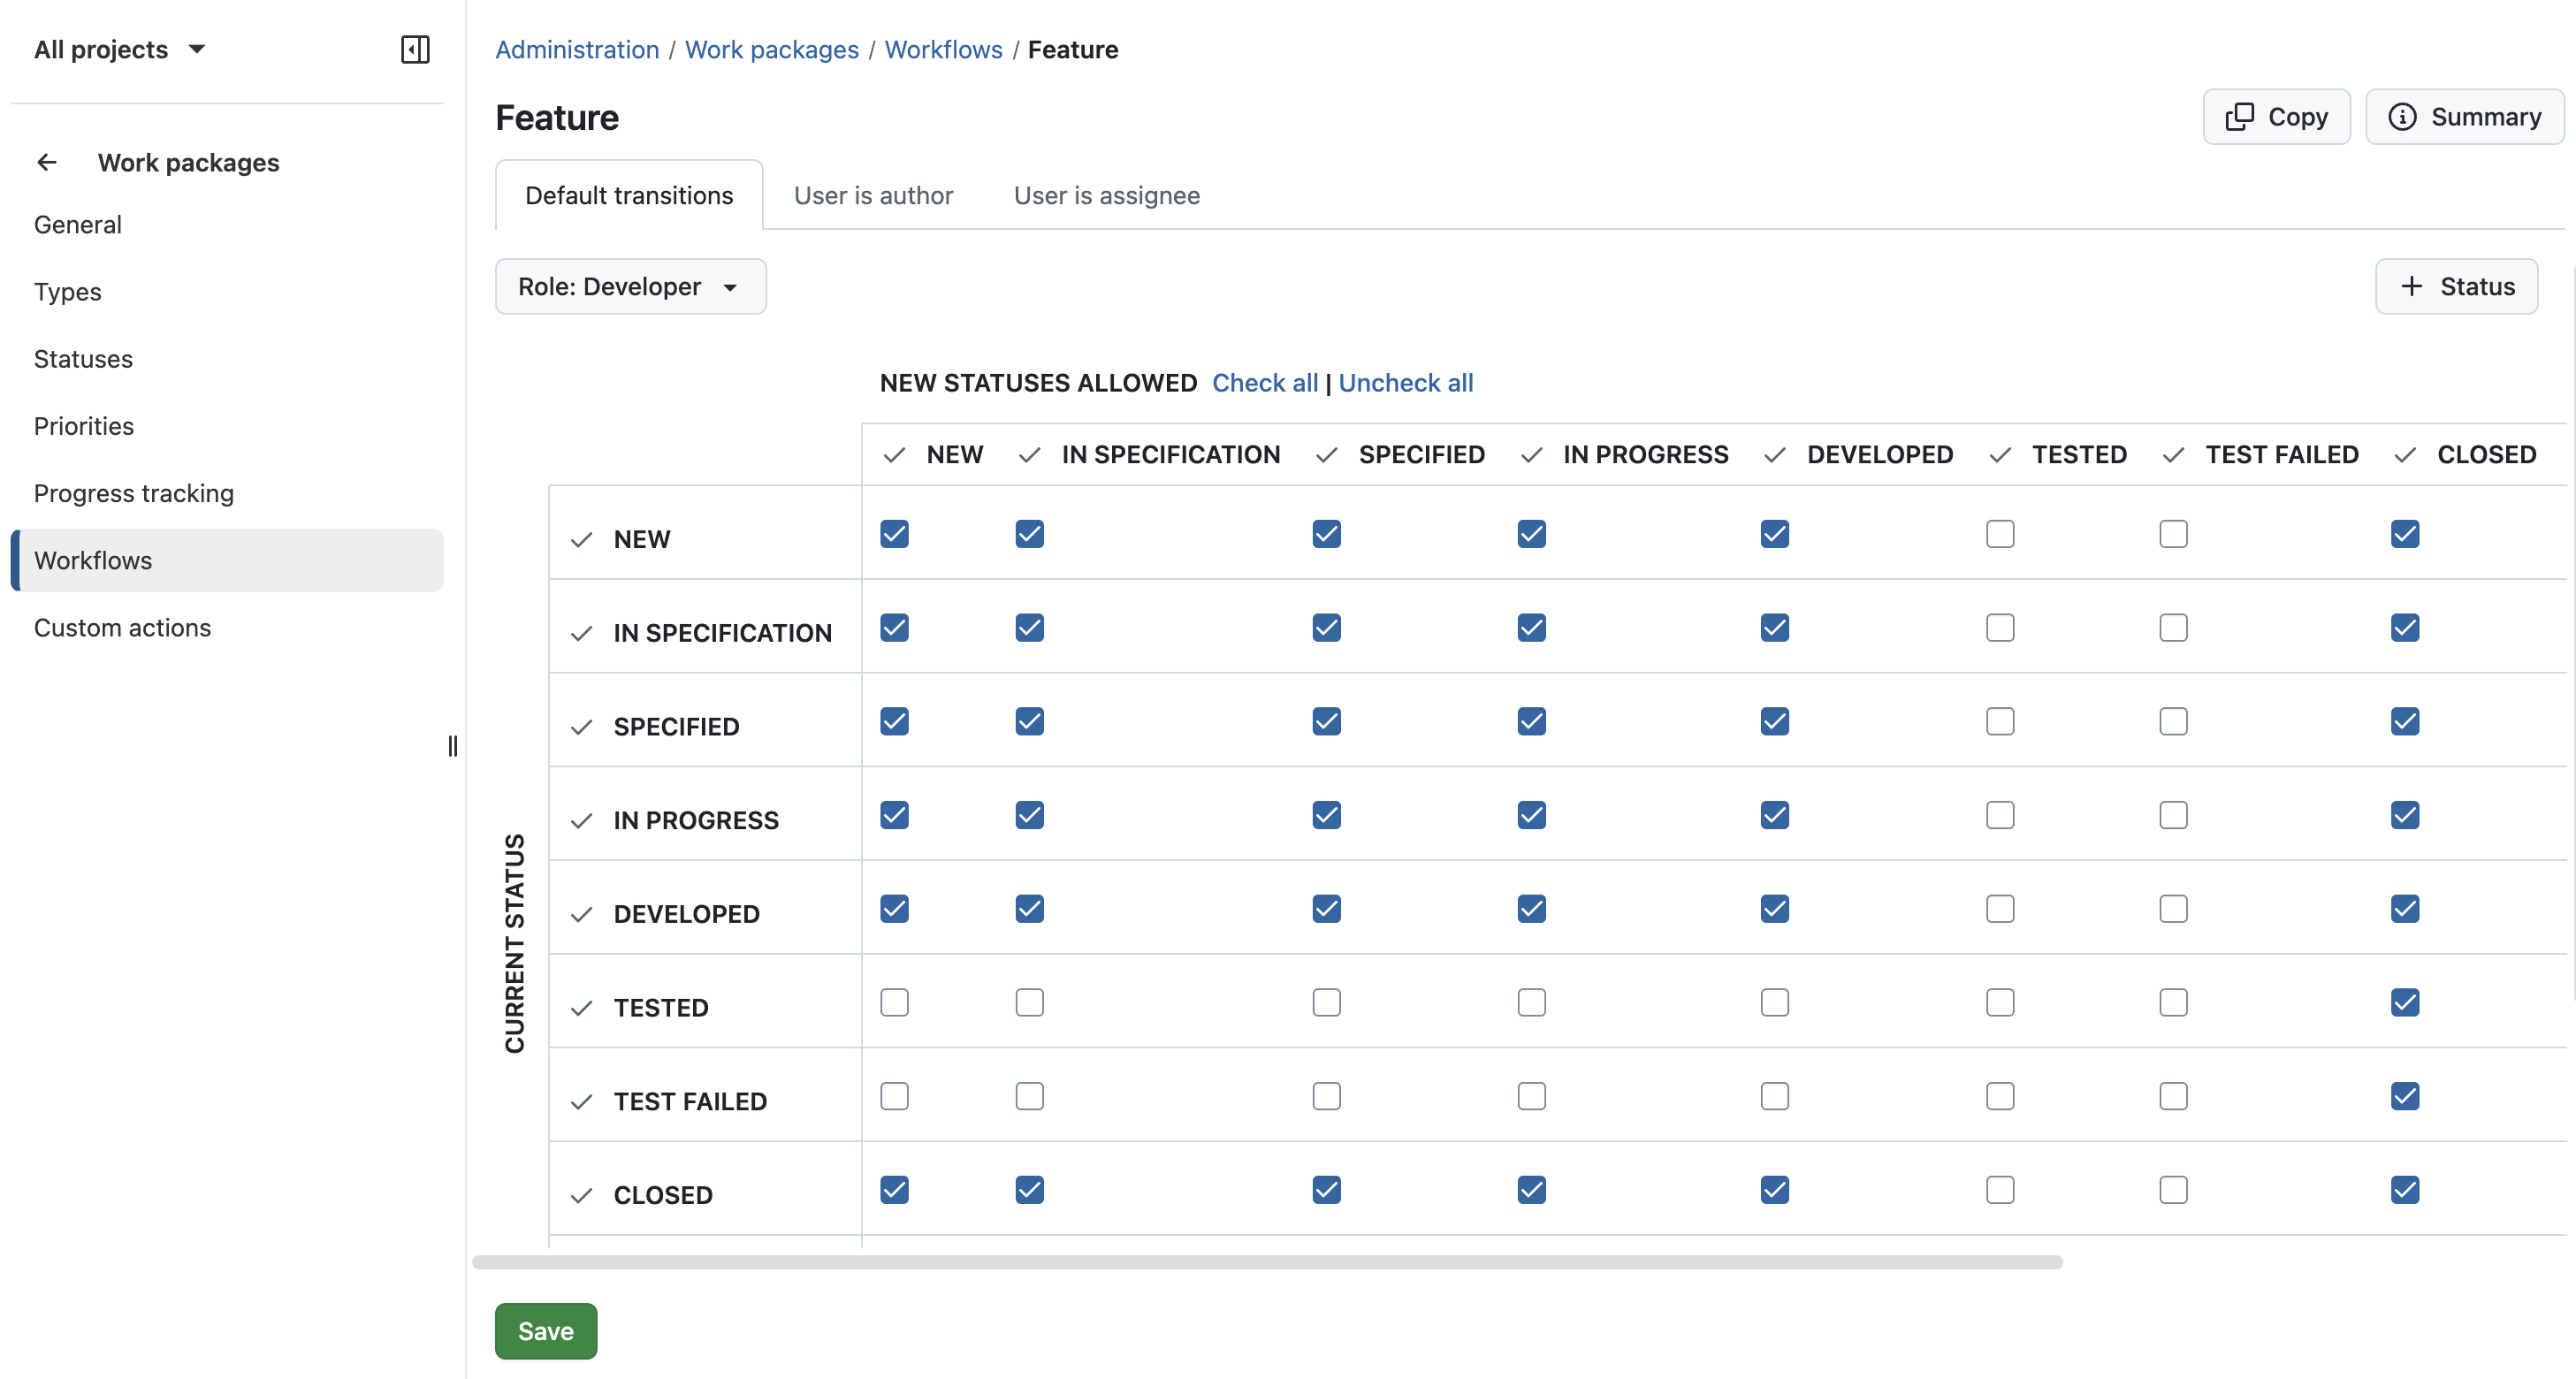
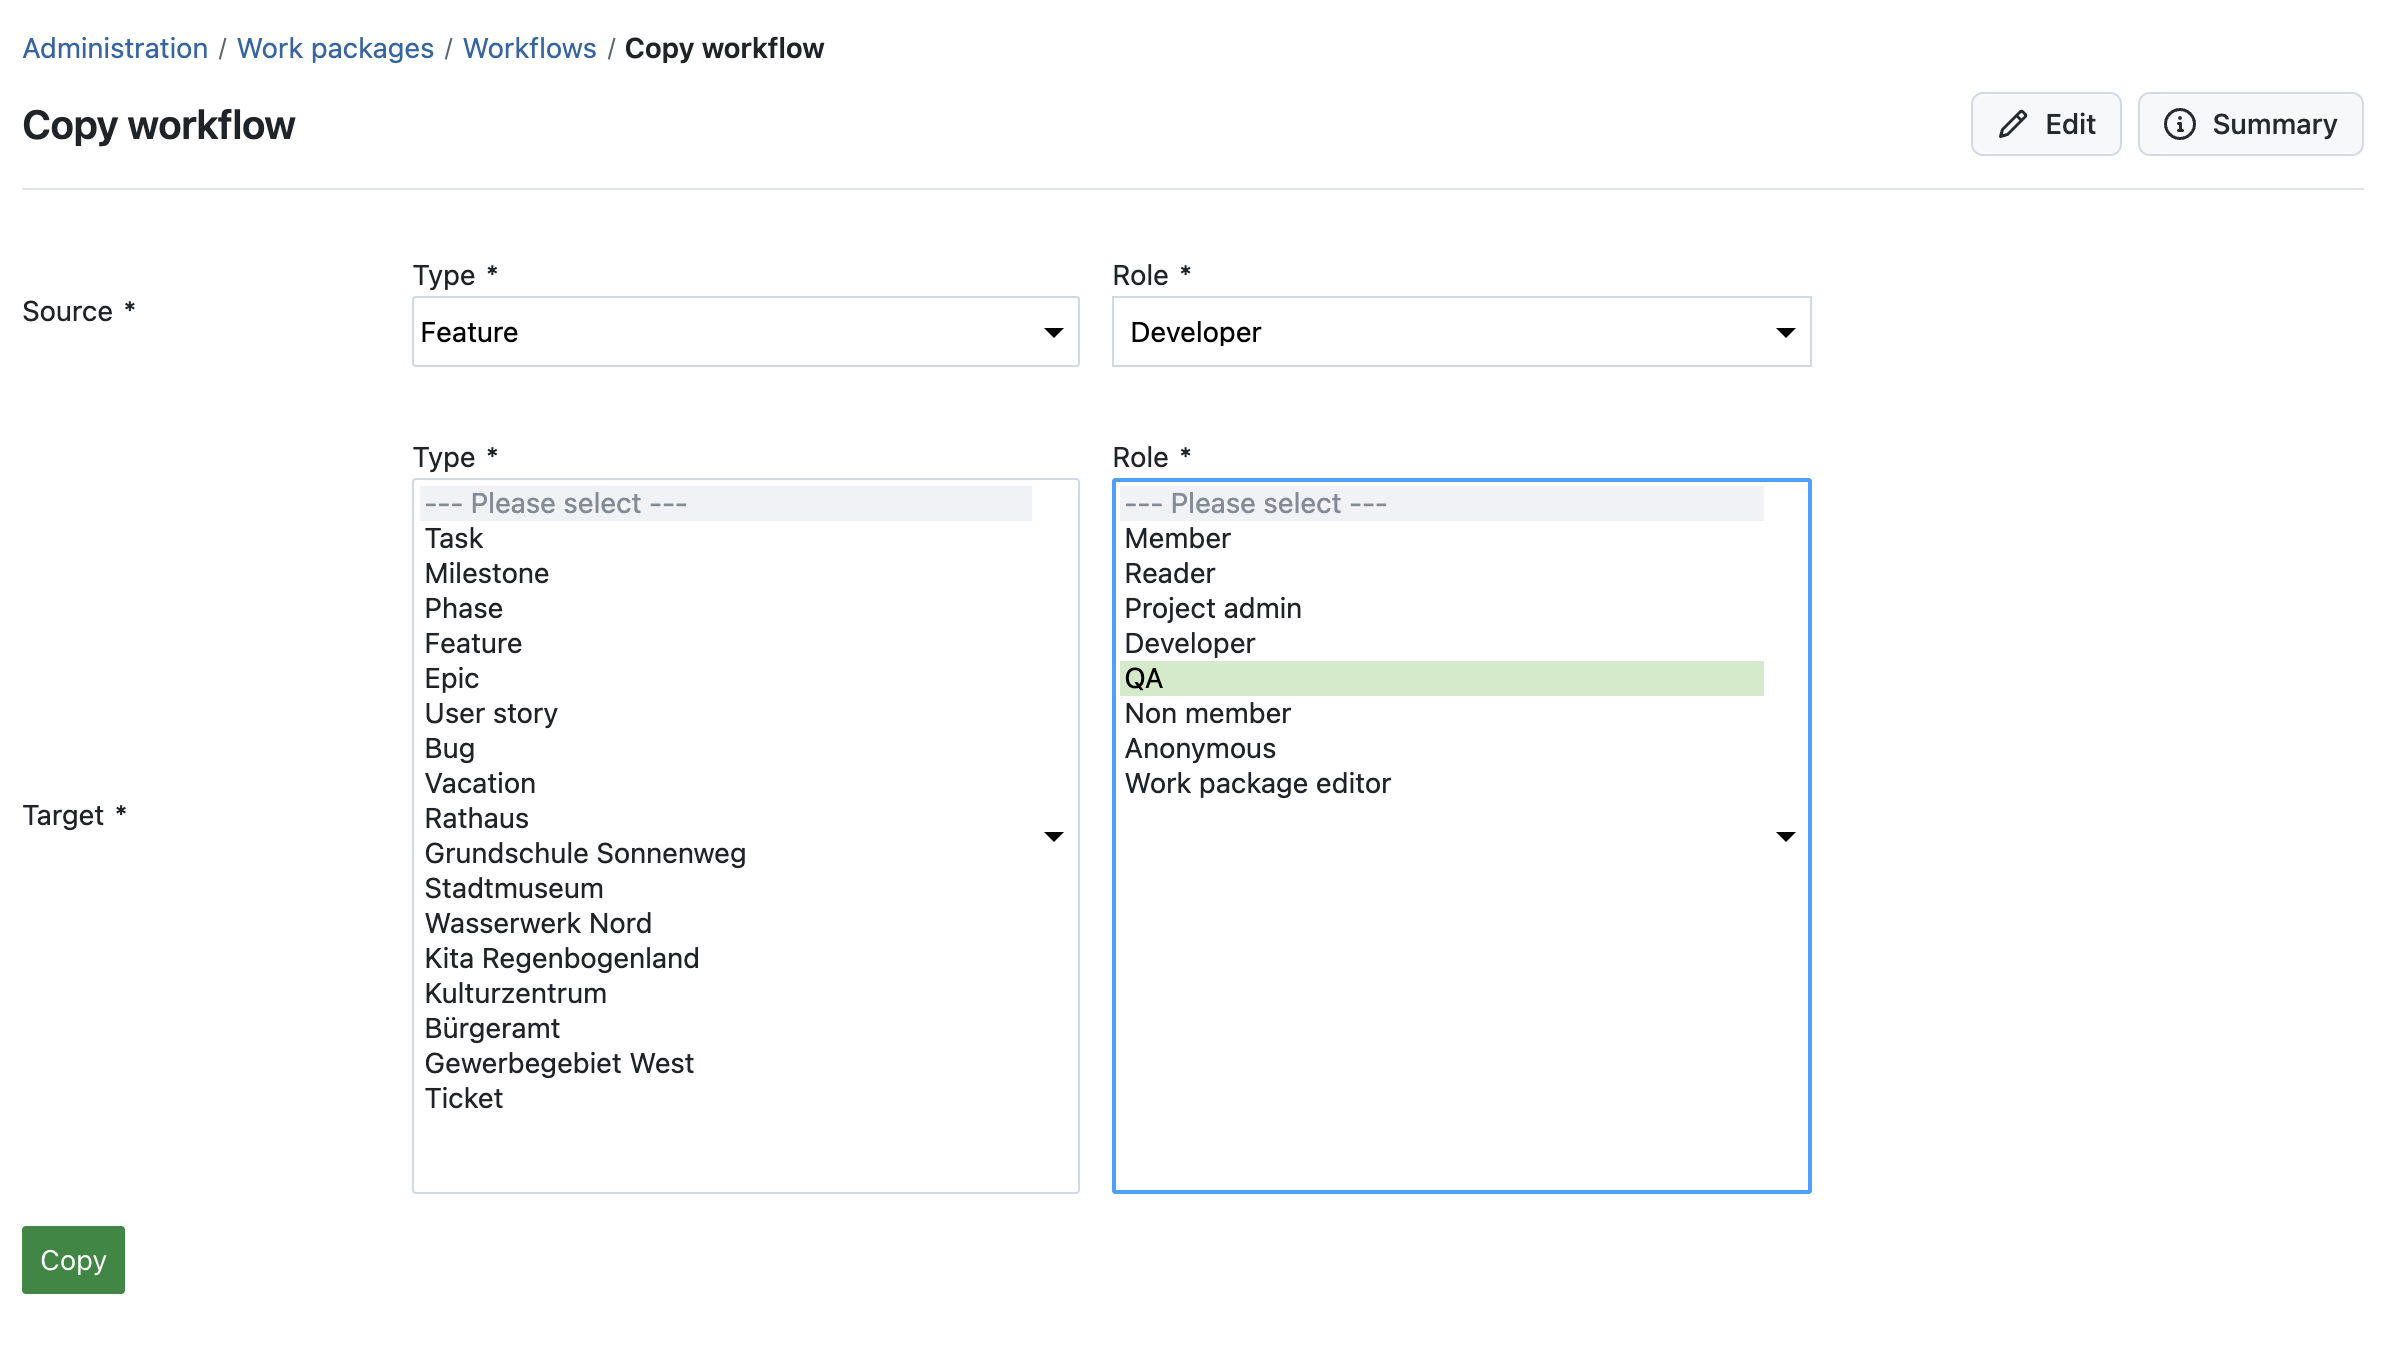
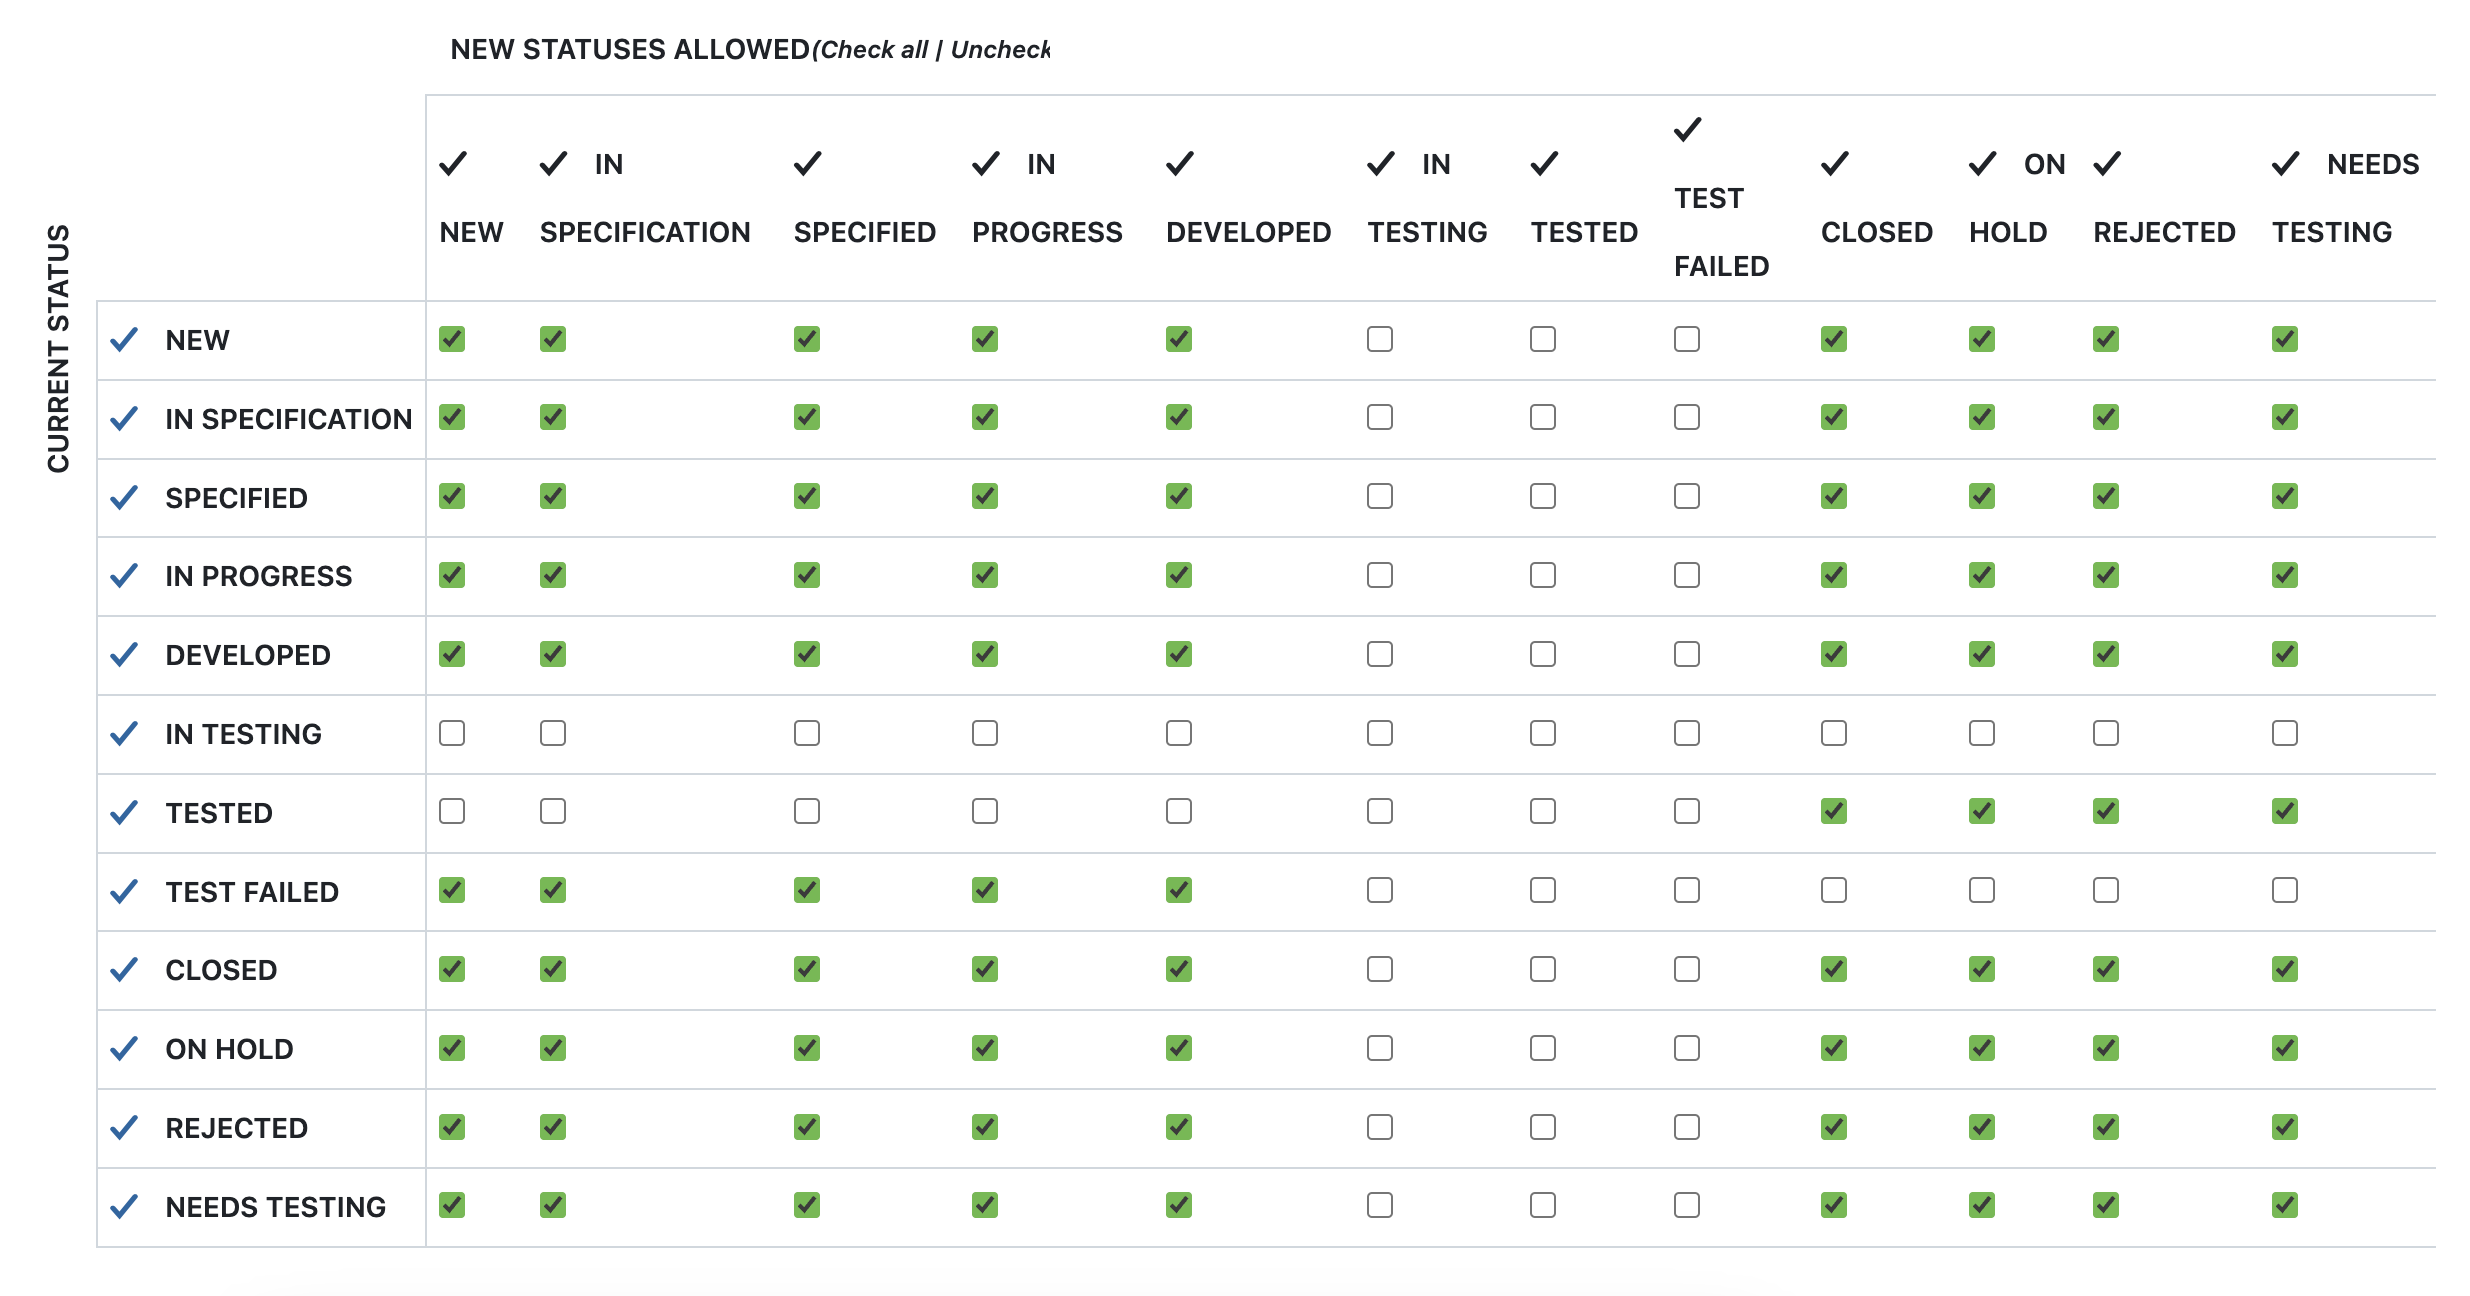
Improved workflow configuration for admins

Workflow configuration has been improved with a new index view by type, a more focused display of relevant statuses, and a more reliable saving experience.

Nested groups for better user and permission management

Groups can now be nested, allowing memberships and permissions to be inherited across the group hierarchy. This also lays the foundation for future improvements in structuring groups in OpenProject.

Improved handling of project identifiers

Project identifiers can now be changed more easily without invalidating existing links. In addition, identifier handling has been improved when creating or copying projects.

Improved work package search across the application

Work package search has been extended to more areas of the application. When selecting work packages, it is now possible to search by attributes such as type and status.

OpenProject 17.3: Migration, installation, updates and support

Follow the upgrade guide for the packaged installation or Docker installation to update your OpenProject installation to OpenProject 17.3. We update your hosted OpenProject environments (Enterprise cloud) today, April 15, 2026.

You will find more information about all new features and changes in our Release notes and in the OpenProject Documentation.

If you need support, you can post your questions in the Community Forum, or if you are eligible for Enterprise support, please contact us and we will be happy to support you personally.

Credits

A very special thank you goes to Helmholtz-Zentrum Berlin, City of Cologne, Deutsche Bahn and ZenDiS for sponsoring released or upcoming features. Your support, alongside the efforts of our amazing Community, helps drive these innovations. Also a big thanks to our Community members for reporting bugs and helping us identify and provide fixes. Special thanks for reporting and finding bugs go to Walid Ibrahim, Jörg Mollowitz, Robin Kluth, Natalie Stettner, Gábor Alexovics, Patrick Lenk, and Daniel Elkeles.

Last but not least, we are very grateful for our very engaged translation contributors on Crowdin, who translated quite a few OpenProject strings! This release we would like to particularly thank the following users:

Would you like to help out with translations yourself? Then take a look at our translation guide and find out exactly how you can contribute. It is very much appreciated!

As always, we welcome any feedback on this release.

  •  

How to use status transitions and workflows in OpenProject

OpenProject is a powerful tool, but with great power comes the complexity of customization. If you’re new to OpenProject and having trouble setting up statuses for workflows, you’re not alone. Once you understand how status transitions work in OpenProject and how they depend on roles and work package types, you’ll appreciate their full potential.

Read this article to learn…

  • what statuses, roles and workflows are and how they work together,
  • why your project management will be much more powerful and efficient with custom workflows,
  • how to add a new status and set up a workflow for it.

Let’s dive in!

Note

April 2026: This article has been updated to reflect the latest improvements in workflow configuration in OpenProject.

Know your terms: Status, role and workflow

Let’s start with some terminology. You will be much faster to create your very own workflows with OpenProject, if you speak its language. So, what are statuses, roles and workflows? And how do they come together?

What is a status in OpenProject?

The status is a key element in every project management. In OpenProject, the status is also an essential attribute of a work package. Based on the status, everyone knows immediately how far the respective work package has progressed.

By default, statuses such as New, In progress or Closed are activated in OpenProject. However, depending on the type of work package, other statuses may be useful. For example, a work package of the type Feature needs the status In test, a work package of the type Blog post rather needs the status In review.

See our system admin guide to learn more about status management for OpenProject.

What are roles in OpenProject?

Roles in OpenProject are extremely important in order to provide each person with exactly the permissions they need - no more, no less. In addition to default roles, administrators can create their own roles and assign them fine-grained permissions.

In addition to permissions for features or project views, admins can also assign specific permissions for status changes in OpenProject roles. Exactly these settings then define a workflow in OpenProject – which we will take a closer look at in the next section.

What is a workflow in OpenProject?

Let’s get back to our example from above: Firstly, we have the status In test, which should be selectable by default for features. Then we have the In review status, which should not be selectable for features, but for work packages of the blog post type.

Now let’s take it a step further and look at the roles and permissions: Let’s say, Luke is a developer and regularly works on features. However, he is not authorized to test features - there is a separate QA team for this. Now it’s suddenly no longer enough to just assign a set of statuses to the work package type Feature, we also need different permissions to activate a status, depending on the role.

This is where workflows come into play. In OpenProject, a workflow defines which status changes are allowed depending on the role and the work package type. In other words: It is not only important what type of work package you are working on, but also who you are. For example, a developer might be allowed to move a work package from In development to Needs testing, while a QA team member can move it from Needs testing to In testing.

With workflows, administrators can control exactly which role is allowed to set which status for which work package.

Note

Status changes for workflows are configured on a global level via the administration panel: Administration → Work packages → Workflows.

This flexibility is what makes workflows in OpenProject so powerful — but also more complex at first. Instead of having a fixed process, workflows adapt to your roles and work package types, allowing you to model real-life responsibilities in your projects.

The power of customization: Simplify the work for project members

As an administrator, you have the power of defining specific workflows for each role so that project members can perform exactly the status changes they need. The more you customize as an admin at the top, the easier the work becomes for other roles further down in the project.

And remember: You only have to configure these settings once for them to work for years. So grab a coffee and block out a morning to take a closer look at status transitions in OpenProject. Your colleagues and your future work will benefit greatly!

Here’s an example of a typical work setting where status transitions with workflows will be much appreciated:

Let’s take Luke, the developer, from the example above. Now his admin Ivan wants Luke to be able to set work packages of the type Feature from New to In development and then to Needs testing. However, while Luke’s QA colleague Maya should be able to change work package statuses of the type Feature from Needs testing to In testing, this should not be possible for Luke. A role-based permission setting like this allows both the developer Luke and Maya from QA to do their jobs while preventing them from accidentally setting a status for which they have no permission.

This is how the example workflow for the role Developer and the type Feature would look like in OpenProject:

Screenshot showing a table with checked and unchecked boxes, providing a workflow in OpenProject

Step-by-step guide: How to add a new status and set up a workflow

Finally, let’s go through the entire process step by step: What settings does admin Ivan need to configure to define the workflows for the work package type Feature – so that each role can perform exactly the status transitions they need to do their job?

Step 1: Create the roles, the status and the work package type you need

If you are specifically looking to create a workflow, you might already have set up the roles, the status and the work package types you need. For our example, admin Ivan would first have to create a work package type called Feature under: Administration → Work packages → Types → New type.

Then he would have to make sure the statuses we described above exist (e.g. Needs testing) – and create new ones, if needed.

He would also have to set up two roles - Developer and QA. This setting can be found under Administration → Users and permissions → Roles and permissions → New role.

Tip

To save some time when creating a new role, we advise you to copy an existing workflow. Please make sure that the new role has the right to change a work package status (or edit work packages, which includes changing the status). You can also copy an existing workflow between roles. For example, you could copy the workflow from the role Developer for the type Feature to the role QA and then adjust only the transitions related to testing.

Screenshot showing how to copy status transitions from one role to another in OpenProject

Step 2: Create and configure the workflow

Now that we have created the roles and the work package type that we want to customize, we can start creating a new workflow under Administration → Work packages → Workflows. For our example, Ivan would have to choose the type Feature.

Screenshot showing how to start creating a workflow for a certain work package type in OpenProject, “Feature” being highlighted as example

Next, Ivan needs to select Developer from the dropdown of available roles. He now either sees the statuses that were set for this role in the past. Or, if it’s a completely new role, no status transitions are configured yet, and he can configure them by clicking the + Status button.

Once all required statuses are selected, you’ll see a table with the current status in the rows and the new statuses in the columns.

Please note that all statuses appear twice in the table: the rows show the current status, and the columns show the new status. If the cell at the intersection is checked, the transition is allowed. So, if you want the role to be able to change statuses in both directions, e.g. from New to In progress and also from In progress to New, you have to check the corresponding cells in both directions.

In our example, Ivan wants to make sure that a person with the role Developer cannot set or change a status from or to anything related to testing. If Ivan now unchecks every box that is related to testing, the screen would look like this:

Screenshot showing how to set status transitions in OpenProject: Every box for testing statuses is unchecked

The table shows status transitions enabled or disabled for developers (role) on work packages of the type Feature. As testing features should only be done by QA, these statuses are disabled in the screenshot.

Tip

OpenProject allows admins to define different status transitions depending on whether the user is the author or assignee of the work package. These options can be configured using the tabs at the top of the workflow view and allow you to define more flexible or stricter workflows depending on the situation.

Now, don’t forget to click Save and your workflow is ready!

Tip

You can also use the Summary view to get an overview of all configured status transitions across roles and types.

Wrapping up: More information on how to set up and customize your OpenProject

You have now learned what status, role and workflow mean in OpenProject and how to set up status transitions to support your project and task management. Here’s a quick overview of the tips in this article:

  • Before creating a workflow, make sure you have the needed role, status and work package type.
  • When creating a new role, copy an existing workflow to save time.

More information on how to set up your OpenProject instance can be found in the system admin guide – on this page you will find a guide to create custom workflows.

OpenProject is an open source project management tool with a wide range of features and a powerful set of customization options. It offers you the tool to create a custom project management just as you need it. And once it’s set up, working with status transitions and other custom features and actions will be fun because it will work easily and be crowned with success.

  •  
❌